
I am a chronic procrastinator!
There, it is now blog official.
Once again, I was attending a wedding this past weekend and didn't have a gift!
Talk about cutting it close...I came up with a brilliant project the day before the wedding!
It's just a fact, my creative juices flow better with
a shot of panic.
And I'm being completely serious.
So, what was I going to do?
Well, a couple days before while perusing one of my favorite blogs, ReFashionista,
I came across a post where she made some adorable invitations
by sewing paper and fabric pieces together.
It inspired me!
I decided to make a name plaque for the newlyweds using that same idea.
After a quick run to our local thrift shop, I had just what I needed.
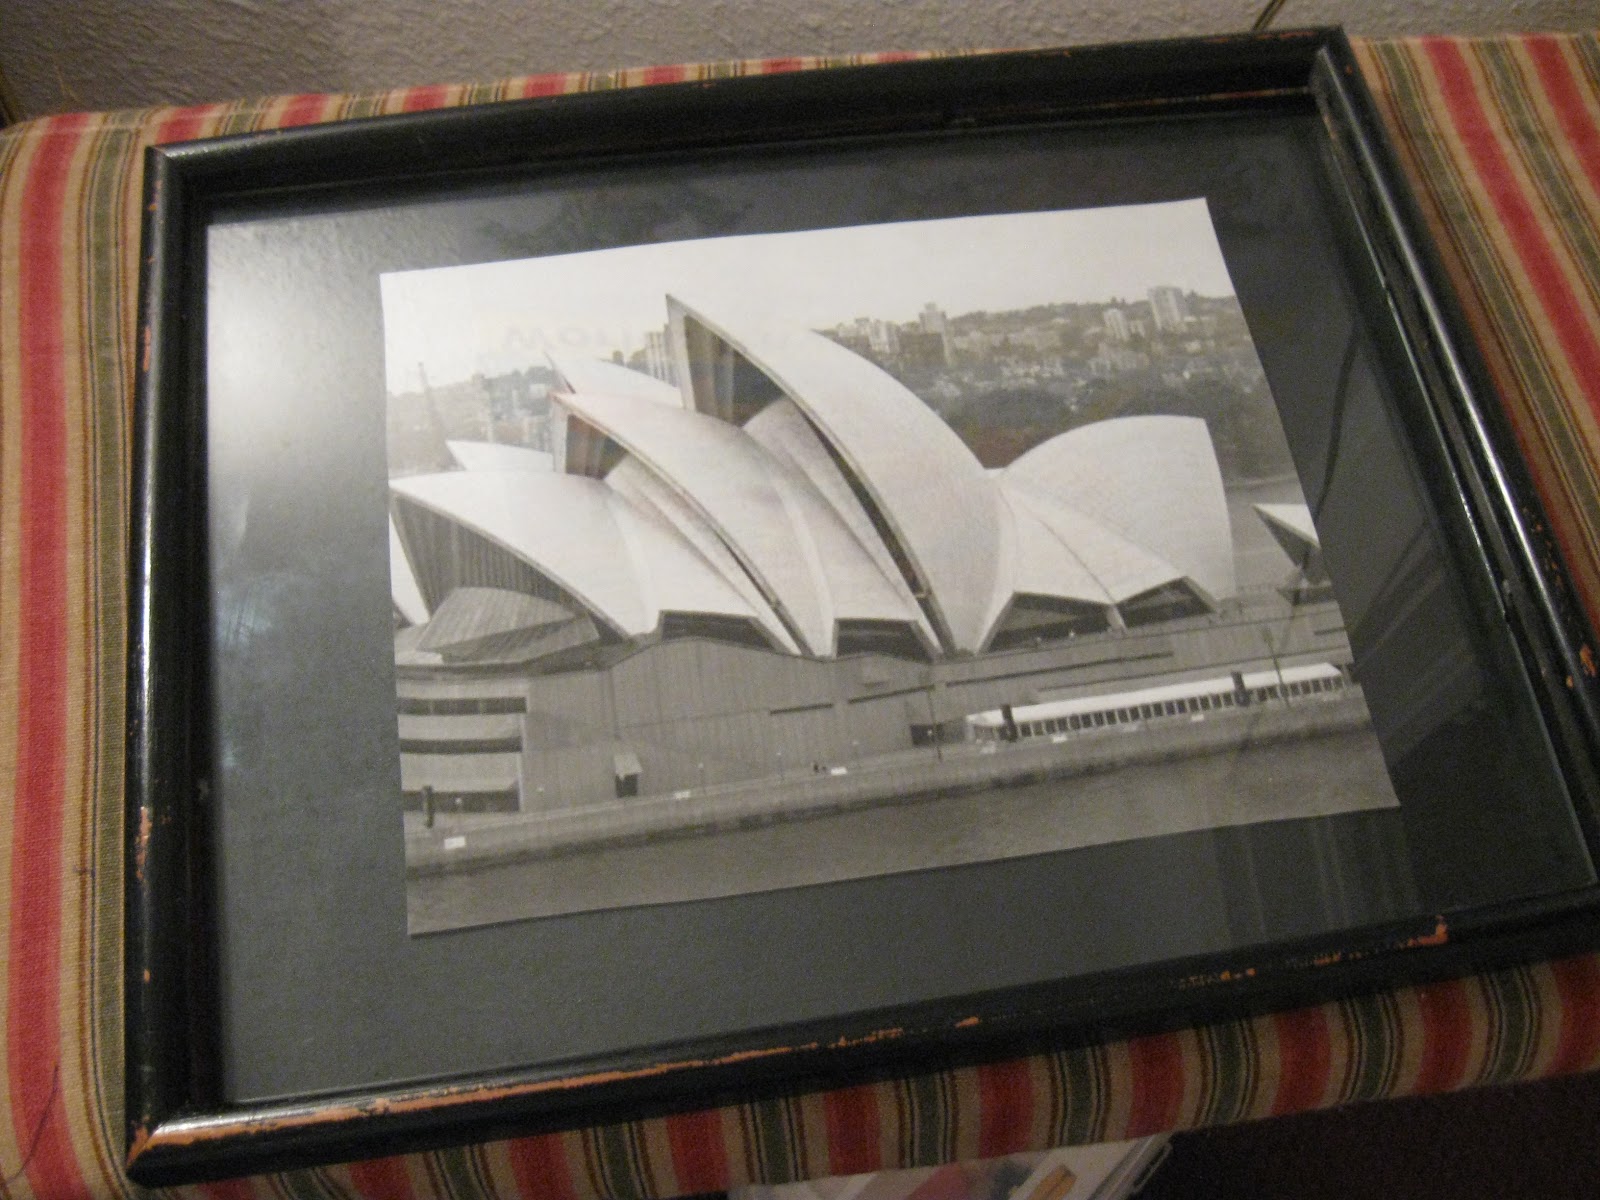
I picked up this slightly beat up black frame
with a cheep computer printed picture stuck inside.

And this old antique looking book with small print words.
Also, a few pieces of fabric scraps.
Then I set to work.
First, I typed up the last name in all caps, each letter in a different font.
I printed those out a plain white paper for a test run.
I wanted to be sure of the sizing and look before I printed them on the paper I intended to use.

Tearing some of the pages out from my book, I laid them overlapping onto the back of the picture board.
Then I started experimenting with how to arrange the letters.

Next came the material scraps.
I tried finding colors and prints that worked with each other
and were in the bride and groom's color scheme.

Once I liked what I had laid out, I reprinted the letters onto my stationary,
cut them out, and sewed them onto the material pieces using a zig zag stitch.

I was being particular, and decided I wanted the letters closer together,
so I trimmed down the fabric blocks until I got them to look like this.
When I was completely satisfied with it all,
I used a glue stick and glued down the pages.
Then I secured the letters in place with double stick tape.
Next, using a pair of scissors, I set to work distressing the frame.
It had a few scrapes already, but after I was done with my scissors,
it looked like it was supposed to be that way. :)


Almost done...

Lastly, I twisted a piece of copper wire around a pencil to spiral it,
then stapled it to the back of the frame.

Ta-da!
You can't see and fully appreciate how well the distressing of the frame
turned out from my poor photos, but trust me...it was beautiful!
I was oober pleased with my afternoon project,
it looked like something you pay good money for at a boutique.
Spent:
Frame: $2
Old Book for Background: $0.25
Material scraps: $0.10
Total: $2.35 (plus materials on hand)
Creativity pays off!
......And thoughtfully created by a friend....priceless! Beautifully done.
ReplyDeleteThe best part was that they loved it, and had been hoping for a name plaque for their home. :) Thanks!
ReplyDelete