Sunday, June 30, 2013

Thrift Store Haul!

Oh. My. Goodness.
 
I live 15 minutes away from a great little thrift store...
I think this is dangerous.
 
Abashedly I admit, I have visited at least once every week for the past month...and a half.
Hey, I have been working on several projects for the sewing room (posts coming soon),
so that is my excuse.
 
But last week a wonderful thing happened....they had a bag sale!
$2, all you can stuff in a bag, for purple tag items!
 
Awesome. Dangerous.
 
Of course I went, and got some great booty.
 
THEN...
low and behold, they have another bag sale this week...this time on white tag items,
that means a completely different selection of clothes.

I put my skills to work...between my little sister and I, we crammed 20 items into that bag...
do you know what that means?!
20 pieces of clothing...for 10 cents each!
Basically...free clothes!


Awesome.

I didn't count my combined purchase items...and I don't plan to...
only a few of them work as is, the others are destined for refashioning.
I have already finished a few of them, I just need to get them posted!


This is my refashion bin...to the right was what it looked like before said bag sale,
and to the left is what it looks like after...already a few pieces lighter, grant you!
 
I'm excited to get working!
Lots more refashion posts to come!
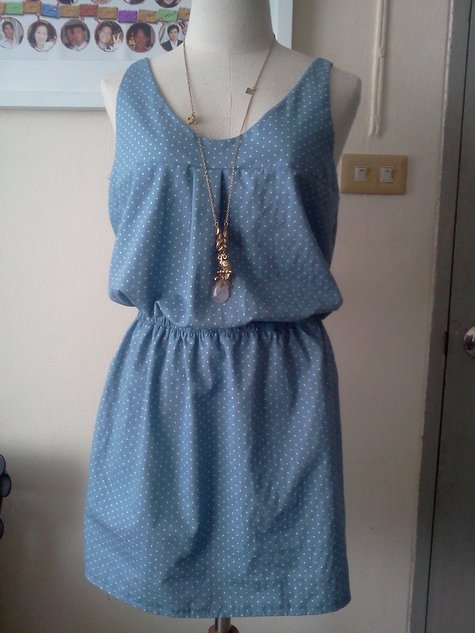
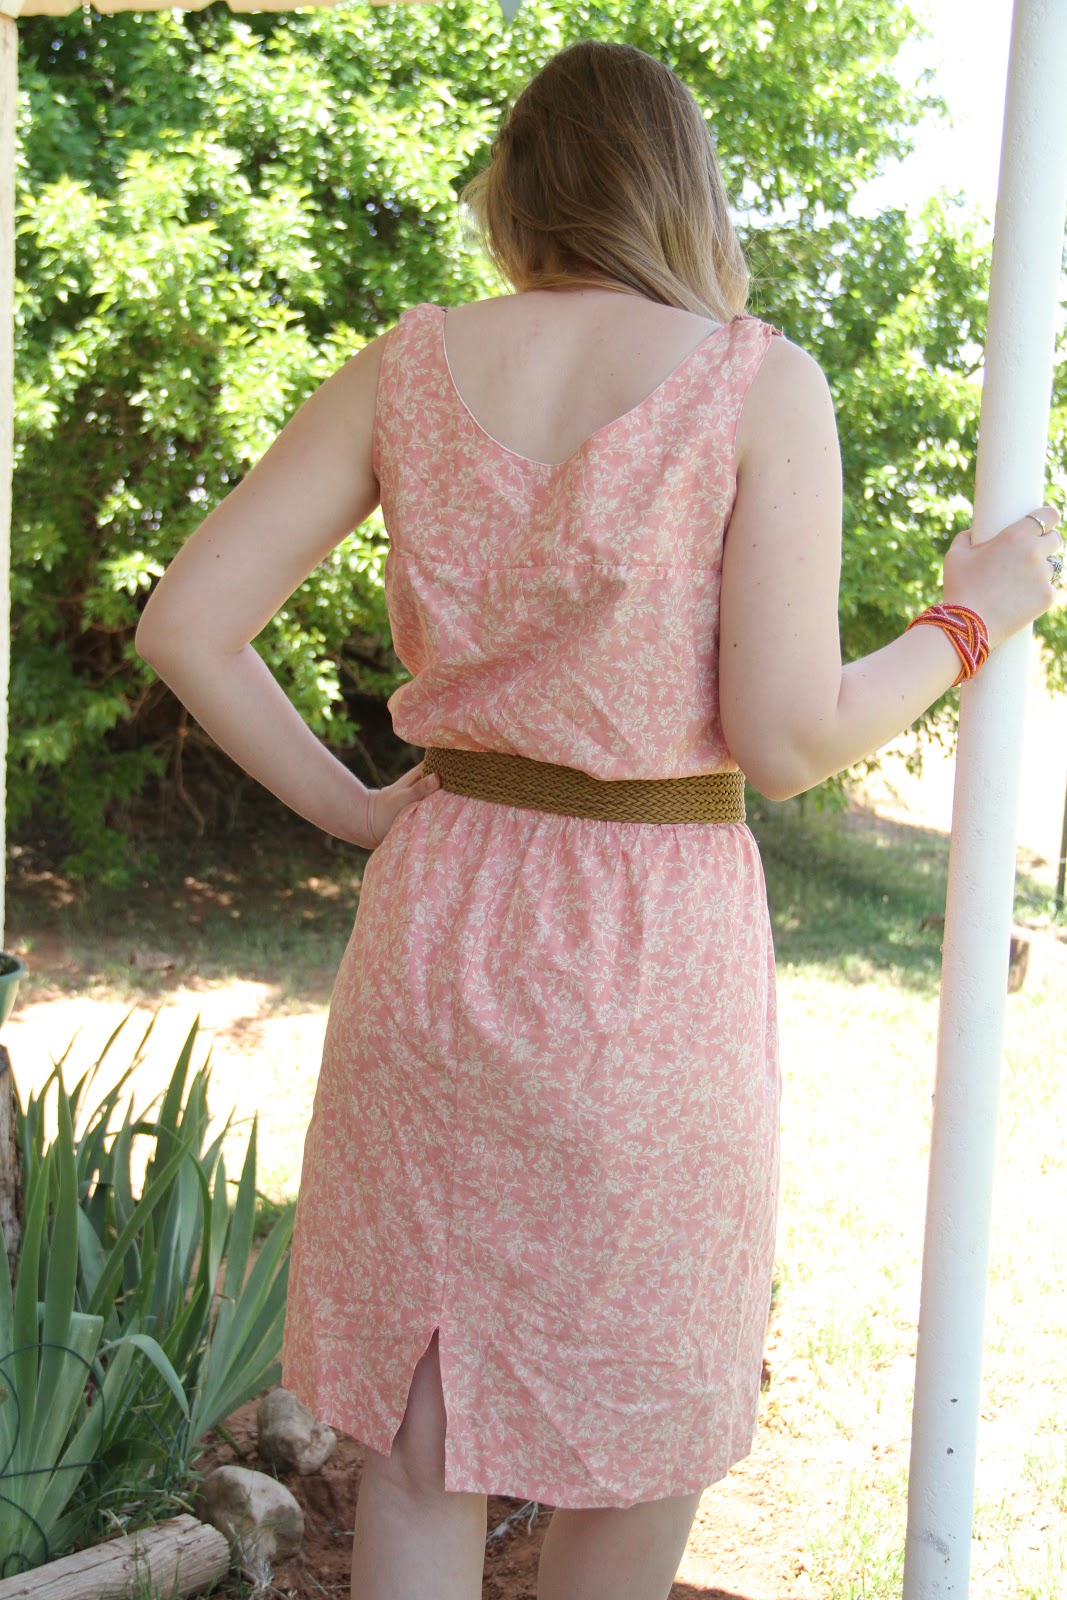
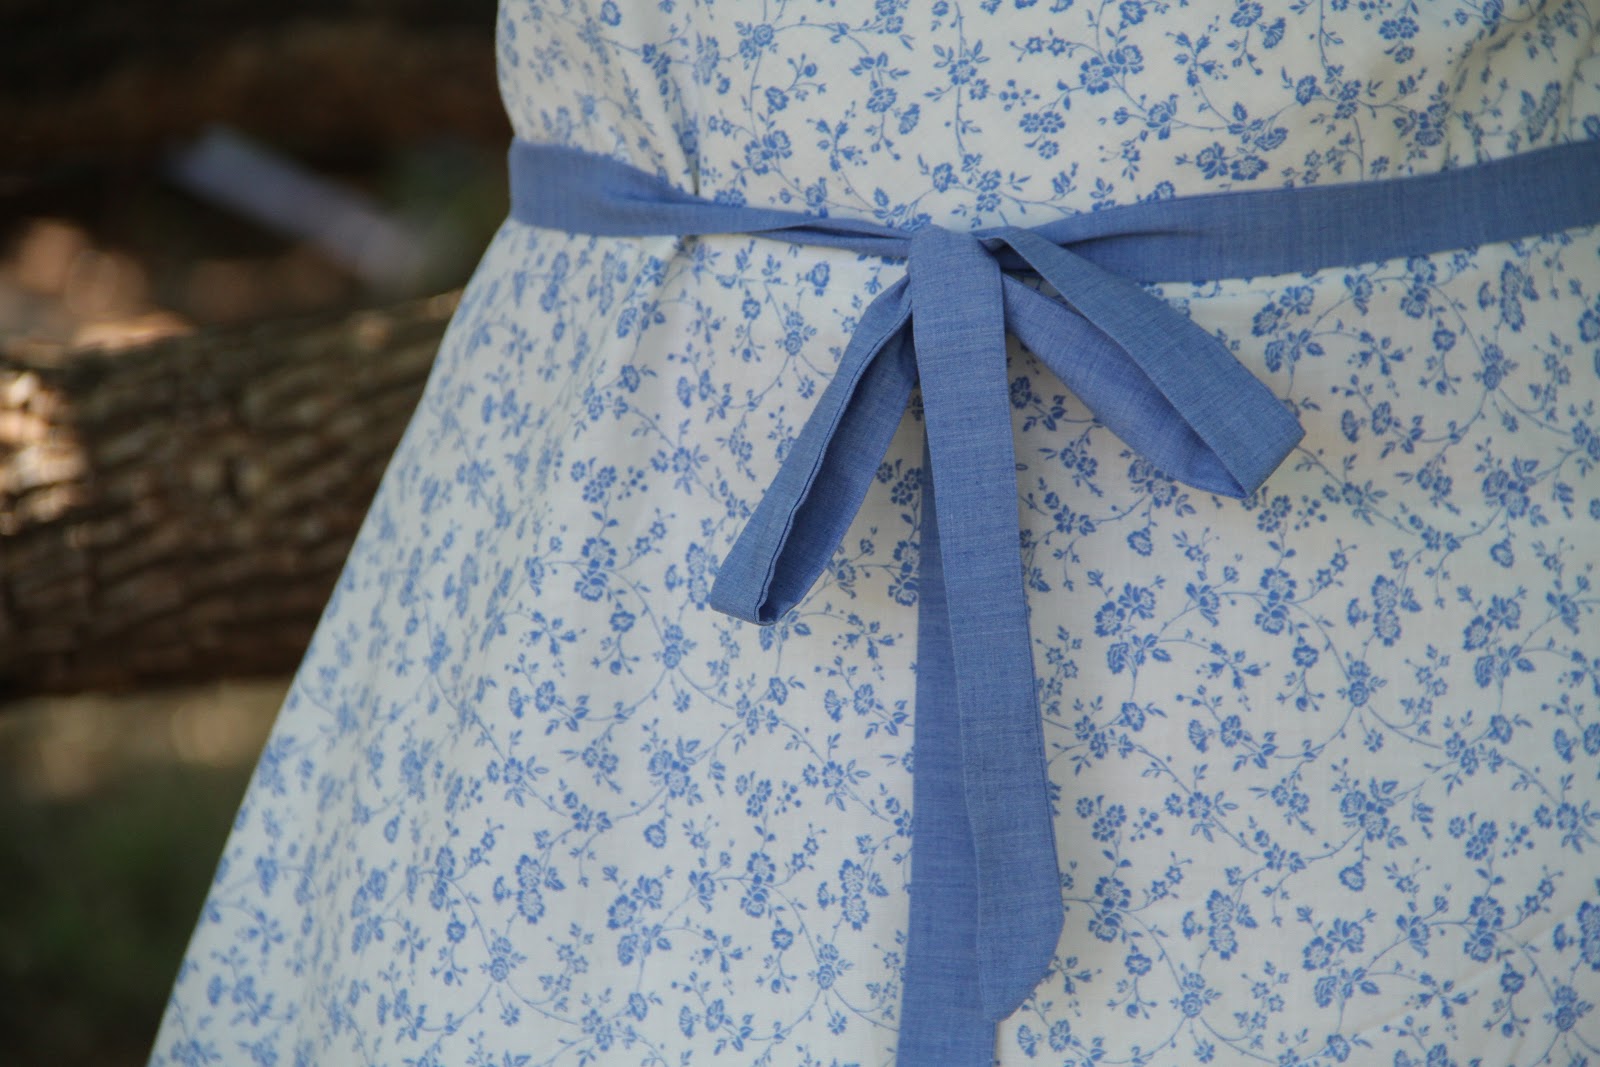
 
Completed Projects:

Thursday, June 27, 2013

Dressing Gown Refashion: Fix for Too Tight Sleeves

Have you ever found a lovely piece of clothing, but it was too small?
 
Well that was just the issue I had when I came across a beautiful, flowing, vintage coral dressing gown on one of my thrifting outings.
It was too small waisted to wrap around me, and the arms were too tight.
 
But it was only $1, I loved the color, and there was so much material, I figured I could make something work.
 
This was a project I did quite a while ago, and it being one of my first refashions, I was making it up as I went along.... which means.... I didn't bother to take a 'before' picture.
 
 
This is what it looks like now.


Gorgeous flowing ankle length dressing gown that I love because now it fits me!
 
And this is how I did it.
 
This dress is constructed with lots and lots of pleats...they go all the way around the waist.
So all I had to do was take out several of the pleats on either side in the front.


Then, to keep it from being too straight a line where I took out the pleats,
I added a single inverted box pleat on each side, like in the picture above.
 
 Lovely, flattering waist line.
 
The collar/front was pleated as well, folded over and sewn down, so when I picked that loose it was wide enough to accommodate letting out the waist.


Next, I needed to fix do something with the arms.
 
The sleeves came down to just above the elbow, a little longer than I would like for a summer robe.
 
So I came up with a solution that fixed the snugness and length.
 
I ripped out the seam under the arms right up to the point just under the armpit.
 
The ripped seam to the point under the armpit.
 
I'm not sure what material this is made of, but it rolls up instead of fraying,
so there was no need to fix the exposed edges after my ripping.
 
Next I pinched and gathered up the sleeves in the middle and sewed over the gathered material....


I loved the sweet, feminine look of it!
And yes, I'm sorry, but I did use white thread...like I said, I was winging it,
and I didn't have matching thread anyway.

So there you have it...a quick fix for too tight sleeves and waist.
I loved the way the sleeves looked, and I'm sure I'll use that technique again!


Saturday, June 22, 2013

Little Mermaid Crochet Doll

My little sister turned 10 years old this spring, and I wanted to make something she would really like.
We both share a love for all things mermaid as well as Disney.
I decided to head in that direction and crochet her a mermaid doll.
I searched high and low for a mermaid pattern but didn't like any of them.
They were all fat and pudgy with misshapen fins.
Not what a mermaid is supposed to look like.
I did find this picture, which is an old magazine pattern that is pretty expensive
to get ahold of.


I loved the idea of the fin going all the up instead of the separate shell bra.
Borrowing a tiny little bit from this pattern for the fins (I changed it a lot, it was just the base),
and using the directions from this pattern for the arms, I had a good start.
As for the rest...I made it up as I went along!
 
 
Front body
Back side of body


Fins


Fins attached and upper body and head worked onto fin.


Once I had finished the fin/green body,
I stuffed it as best as I could.
Next I changed colors and began working the upper body and on into the head.
Before closing off the head, I stuffed the rest.
 
From there I stopped taking pictures as I went (sorry!).
 
Here is the gist...
I crocheted two arms, ran a half folded over pipe cleaner through them,
then attached them to the body.
 
For the hair...well...I really faked and fumbled my way through it.
I made lots of curly little twisted worm deal-ios and attached them...
then did a bunch of other stuff that surprisingly turned out looking decent.


Next, I used embroidery thread to add the eyes and lips.


To finish it off I made a small necklace and sewed some clear sequins all over the body.
And tada!
A mermaid doll!


Maybe someday I will sit down, try to recreate this and write out the pattern.
But for now, I'm just pleased that I made it work.


Wednesday, June 19, 2013

A Little Sister Maxi Dress

After making so many things for myself the last couple of months,
I decided one day in May (yes, I rhymed that one purpose)
that I needed to branch out and make something for someone else in the family.

I had a maxi dress idea I wanted to try,
and my little sister was the benefactor of my test run.

These were my sources of inspiration from my Pinterest boards....


I *love* this maxi dress, you can find a great tutorial on making it over at Sew Much Ado.
I didn't actually follow her tutorial (but I plan to someday!).
 
This maxi dress also had a cute ruffle along the top that I liked.
You can read how to make this adorable dress over at the blog Dances With Fabric.
 
 
These images were inspiration,
but from there I pretty much just winged it.
I didn't use an actual pattern, instead I took measurements
and basically made the dress one long tube, with a ruffle and an elastic waist.


I would do some things differently next time I make one of these.
 
I will actually follow the tutorial from the blog Sew Much Ado which I mentioned above.
In it, she uses a tank top for her guideline for the top,
creating a fitted garment and not just a straight tube.


A second change I would make is omit the ruffle or change fabrics.
The stiff cotton fabric ruffle looks a little odd and 'in the way'.
 I wonder if that will change with lots of washings??
 
So...
it was a good project because I learned some things along the way
...mostly what not to do.


My sister likes the dress, but I think I will probably end up making some changes to it.


It did turn out cute, so I shouldn't be too hard on myself.
It was my third dress and fourth from scratch project.


Monday, June 17, 2013

Pink Summer Dress with Free Pattern Link


What would summer be without summer dresses?
Frankly, I can't even comprehend it.
 A girl can never have too many cute summer dresses,
and this pretty pink number I sewed back in April is one of my newest additions.

 This is what I was trying to copy.


Img715_large

 
 Isn't this just adorable?
This dress was based off of this free pattern, which was a spin off from this pattern.

Borrowing from the look of this dress, and some of the ideas from the free pattern,
I mashed the two together and kind of made it up as I went along.
 
 Taking my hip measurements, adding some extra for ease and seam allowance,
I created a tube that I sewed up in the back, leaving a slit.
This was the body of the dress.


For the bodice I needed a guide, so I traced the bodice from another dress I liked.

I make it sound like no big deal, but for a beginner, this took a long time, 
including some frustrating set backs.

In the free pattern, a full bodice top is used, from arm to arm.
I tried that...it didn't turn out symmetrical...big mess...nope.
 Don't do that.

Instead I used half of my bodice pattern and cut it out on a fold.
Much better.
 
There was still a little glitch though...as it turned out, my shoulder straps weren't long enough, 
so I had to improvise.
Truthfully, it turned out to be a unique design alteration that I like!

I made a small tube strap extension, sewed it in between my too-short straps,
then I gathered it in the middle and sewed it...
resulting in a cute little bow. 


Personally, I think my mistake turned into a fun element!
What do you think? 


Next, I gathered the top of the dress tube,
added a box pleat to the center front,
then sewed it to the bodice.


 I added an elastic waist band, hemmed up the bottom and was done. 


It looks best with a chunky belt.

This dress is really comfortable, and I like the shorter length...
sometimes it just gets too hot here to wear anything long!
 All in all, a great casual day dress.


Oh yeah, and isn't that fabric lovely?
Would you believe I picked it up at a local store for $0.50 a yard?!
I ended up with 5 yards of this pretty pink!

I still have lots left over...I guess that means another project is in order...

Friday, June 14, 2013

Blog Buttons!

Haza!!!
I am SOOO thrilled!
I now have blog buttons for you!


I had lots of fun creating them, and I have to say I am pretty pleased with how they turned out.
I used a great site called FotoFlexer.com to edit and create them,
the same site I used to create the blog banner for my other blog
 
I recommend it.
Although one word to the wise: 
when you are done creating and it comes time to save your project,
once saved to the site, it becomes a flat image, you can no longer edit and change elements in it,
so be sure you are pleased with how it is before you start a new project or close the site/program!
 
Designing these pretties was the easy part...however it was a nightmare
when it came to creating the code!
 
I tried several different tutorials from various blogs and help sites across the web...
none of them worked. :(
 
Then finally I found this site...
The 'Grab My Button' Code Generator!
 
IT WAS SO EASY!!
 
All you do is enter your information, and it generates a code for you!!
 
 
There is even a preview button so you can see how it will look before you
go through the trouble of trying the code out.
 
I give this site 5 stars!!

The lovely person who created it was brilliant!
 
If you are wanting to create a blog button, this is the way to go!
 
You can find my new buttons on the left sidebar...
grab one and enjoy!
 

Thursday, June 13, 2013

My Night at a Museum

Guess what I got to do this past Saturday?!

A couple of friends, one of my brothers and myself
had the fun opportunity of being volunteer 'living history' characters
recreating the idea of museum figures coming to life from the "Night at the Museum" movies!

The event was called "Night at PPHM"
hosted at the Panhandle Plains Historical Museum.


 From 8-11:30,
 the museum turned off their lights and visitors came through
with flash lights and 'caught' the museum night life (the dressed up volunteers)
going about their business...doing what they would have done in their respective era of history.

 
L-R: Friend Beth, myself, brother Anthony, friend Cari.
 
Us gals played the part of prairie ladies in the museum's amazing western town!
We had a 'sewing bee' in the parlor of our prairie house...only none of us were sewing...
Each of us exhibited a different form of handiwork...
knitting, embroidery, and crochet.

We found it pretty tricky in the dark...but in between being flashed by one of the
995 attendants, we were able to at least make it look like we were doing something!

There were lots of inquisitive children as well as parents who took advantage
of the teachable moment...for example
"This is what they did for fun back then....
...this was before X-box...and TV."
"See, they had to make all of their own clothes...there were no Wal-Marts."


Probably one of the funnest aspects was that we were able to have real
conversations that actually fit into the lives of our characters!

We talked about our gardens...ducks and hens hatching out...
whirl winds, droughts, dust storms...
and various friends who are getting married and having babies.
 
Our favorite and most well suited topic was the Civil War Wedding 
of our mutual friend...it fit perfectly!
 
Conversation flowed naturally and unforced...there were even some people
who hung around our parlor just to listen for a bit. 


Just a sittin'
My little brother was dressed up as a on gas station attendant
and as his nightly occupation, 'washed' and waxed a 1927 Model T Ford Car.

Our great grandpa really did own and run a gas station, and his daughter,
our Nana, worked there.

He felt pretty proud that he was, in a sense, carrying on the tradition.
 
In short, we all had a blast!
This is definitely something we would love to do again...
 I would love to 'history hop' and try a different time period...like the 40's!
 
Picture by Ralph Duke
 
This was our group picture!
Visit the PPHM Facebook page for a whole album of great shots!
 
 
You can also visit this site for some awesome shots like the one below.
 
Photo By: Spotted®  Sean Steffen AGN Media
Taylor Norman talks with visitors about his work while portraying a blacksmith Saturday, June 8, 2013 during a night event at the Panhandle Plains Historical Museum in which visitors used flashlights to view the exhibits in the dark.
 
 
Our little group so thouroughly enjoyed the experience
that there was much talk about expanding our little band and making it
a regular to do where ever we could find a place to volunteer!
 
We'll see what the future holds... 
 

Blue Floral Summer Dress


 Hey y'all!
So, I have lots of projects planned, but I am still trying to play catch up and post
some of the projects from the last couple of months.
That being said, here is the next installment!


This was a lovely summer dress I made back in April.
It was only my second from scratch sewing project and my first one using a pattern.

My dear friend Atlanta had just gotten married,
and this project was just the thing to get me out a funk after her beautiful wedding
and the resulting 7 state-hop road trip with my brothers. 


  I used this pattern (thanks Atlanta!), New Look 6557, option E (bottom left).


 Photo


I'll admit, having never sewn from a pattern before, this dress was a challenge!
Linings, turning things inside out and this way and that, zippers etc....
there were times I just had to let it sit for a day or two,
but in the end I was very, very proud of myself for finishing it!
It isn't perfect, but what ever is?
Being one of my firsts, I'm not going to be too hard on myself.


I love this delicate blue floral pattern.


During the creation of this dress, we were having *crazy, crazy* weather here in Texas.
When I started, the weather was lovely and warm...perfect for a new summer dress.
But by the time I had finished, I was sewing in a sweater and socks.

Things are finally warm enough now that I can wear this lovely out!


Now I just need someplace to go....


Sunday, June 9, 2013

Strong Enough to 'Scratch' It: An Apron

Sewing from scratch.
That used to scare me.
I felt motivated and sufficiently prepared to tackle my first from scratch sewing project!
It was February, just days away from my Nana's birthday, and I decided to make her a new apron...
she had been wanting one for quite a while.

After looking through mom's small supply of sewing patterns, I was out of luck.
There wasn't any thing that would work.

We (mom was my go-to person, I couldn't have made it through without her!) decided
to just wing it using various aprons of our own as a guide.

I traced one of our basic tie back aprons for the main body.

The back was altered by adding a yoke strap instead of just a loop around the neck.
Does that make sense?
I'm really not familiar with sewing lingo and terms yet, forgive me.


Can you see what I am talking about?
It is really hard to tell in this photo, but that is the back of the apron.
If you look hard you can see a piece of fabric that attatches the should straps horizontally.


Nana's old and favorite apron had lots of ruffles,
so I added them to the shoulders of my version.
There is one row of ruffles made in the main fabric that runs the whole length of the shoulder strap.
I also added a second, wider ruffle in a secondary pattern, these only over the shoulders.


My favorite part of this apron was the adorable pocket!!


I used a pattern I found on Pinterest, it was one of 25 other free pocket patterns!!!
So many adorable pockets, I had a hard time choosing.
In the end I went with this one.


The colors were even pretty similar to what I really used!
You can find the directions here.
I was surprised how easy it was! It was, after all, my very first pocket!
I even did it without mom's help, I have to say I was pretty dern proud of myself!


It was one of those whirlwind projects,
 I was literally working on it just moments before it went into the gift bag!

Hmmm, maybe I should rename my blog 'Making It By the Seat of Her Pants'?!

Anywho...

I was so pleased with how it turned out, especially for my first *real* sewing project!


I think Nana liked it too. :)


Related Posts Plugin for WordPress, Blogger...